
Calligraphy basic strokes for beginners - how to get started in calligraphy
Hey there, cheers! From time to time people ask me to teach them calligraphy, so I decided to organize some step by step on how to start.
Here are some first steps if you are interested in learning the art of calligraphy.
Materials:
Guide Sheet (to print on a high quality paper)
Strokes Template (to print on a regular printing paper)
Nib Holder
nibs (I recommend Nikko G, Leonard Principal and Blue Pumpkin Nib)
Sumi Ink
Transparent paper (Layout Bond)
High Quality Paper (I use Bristol)
Paper Towel
Glass with water to clean the nib
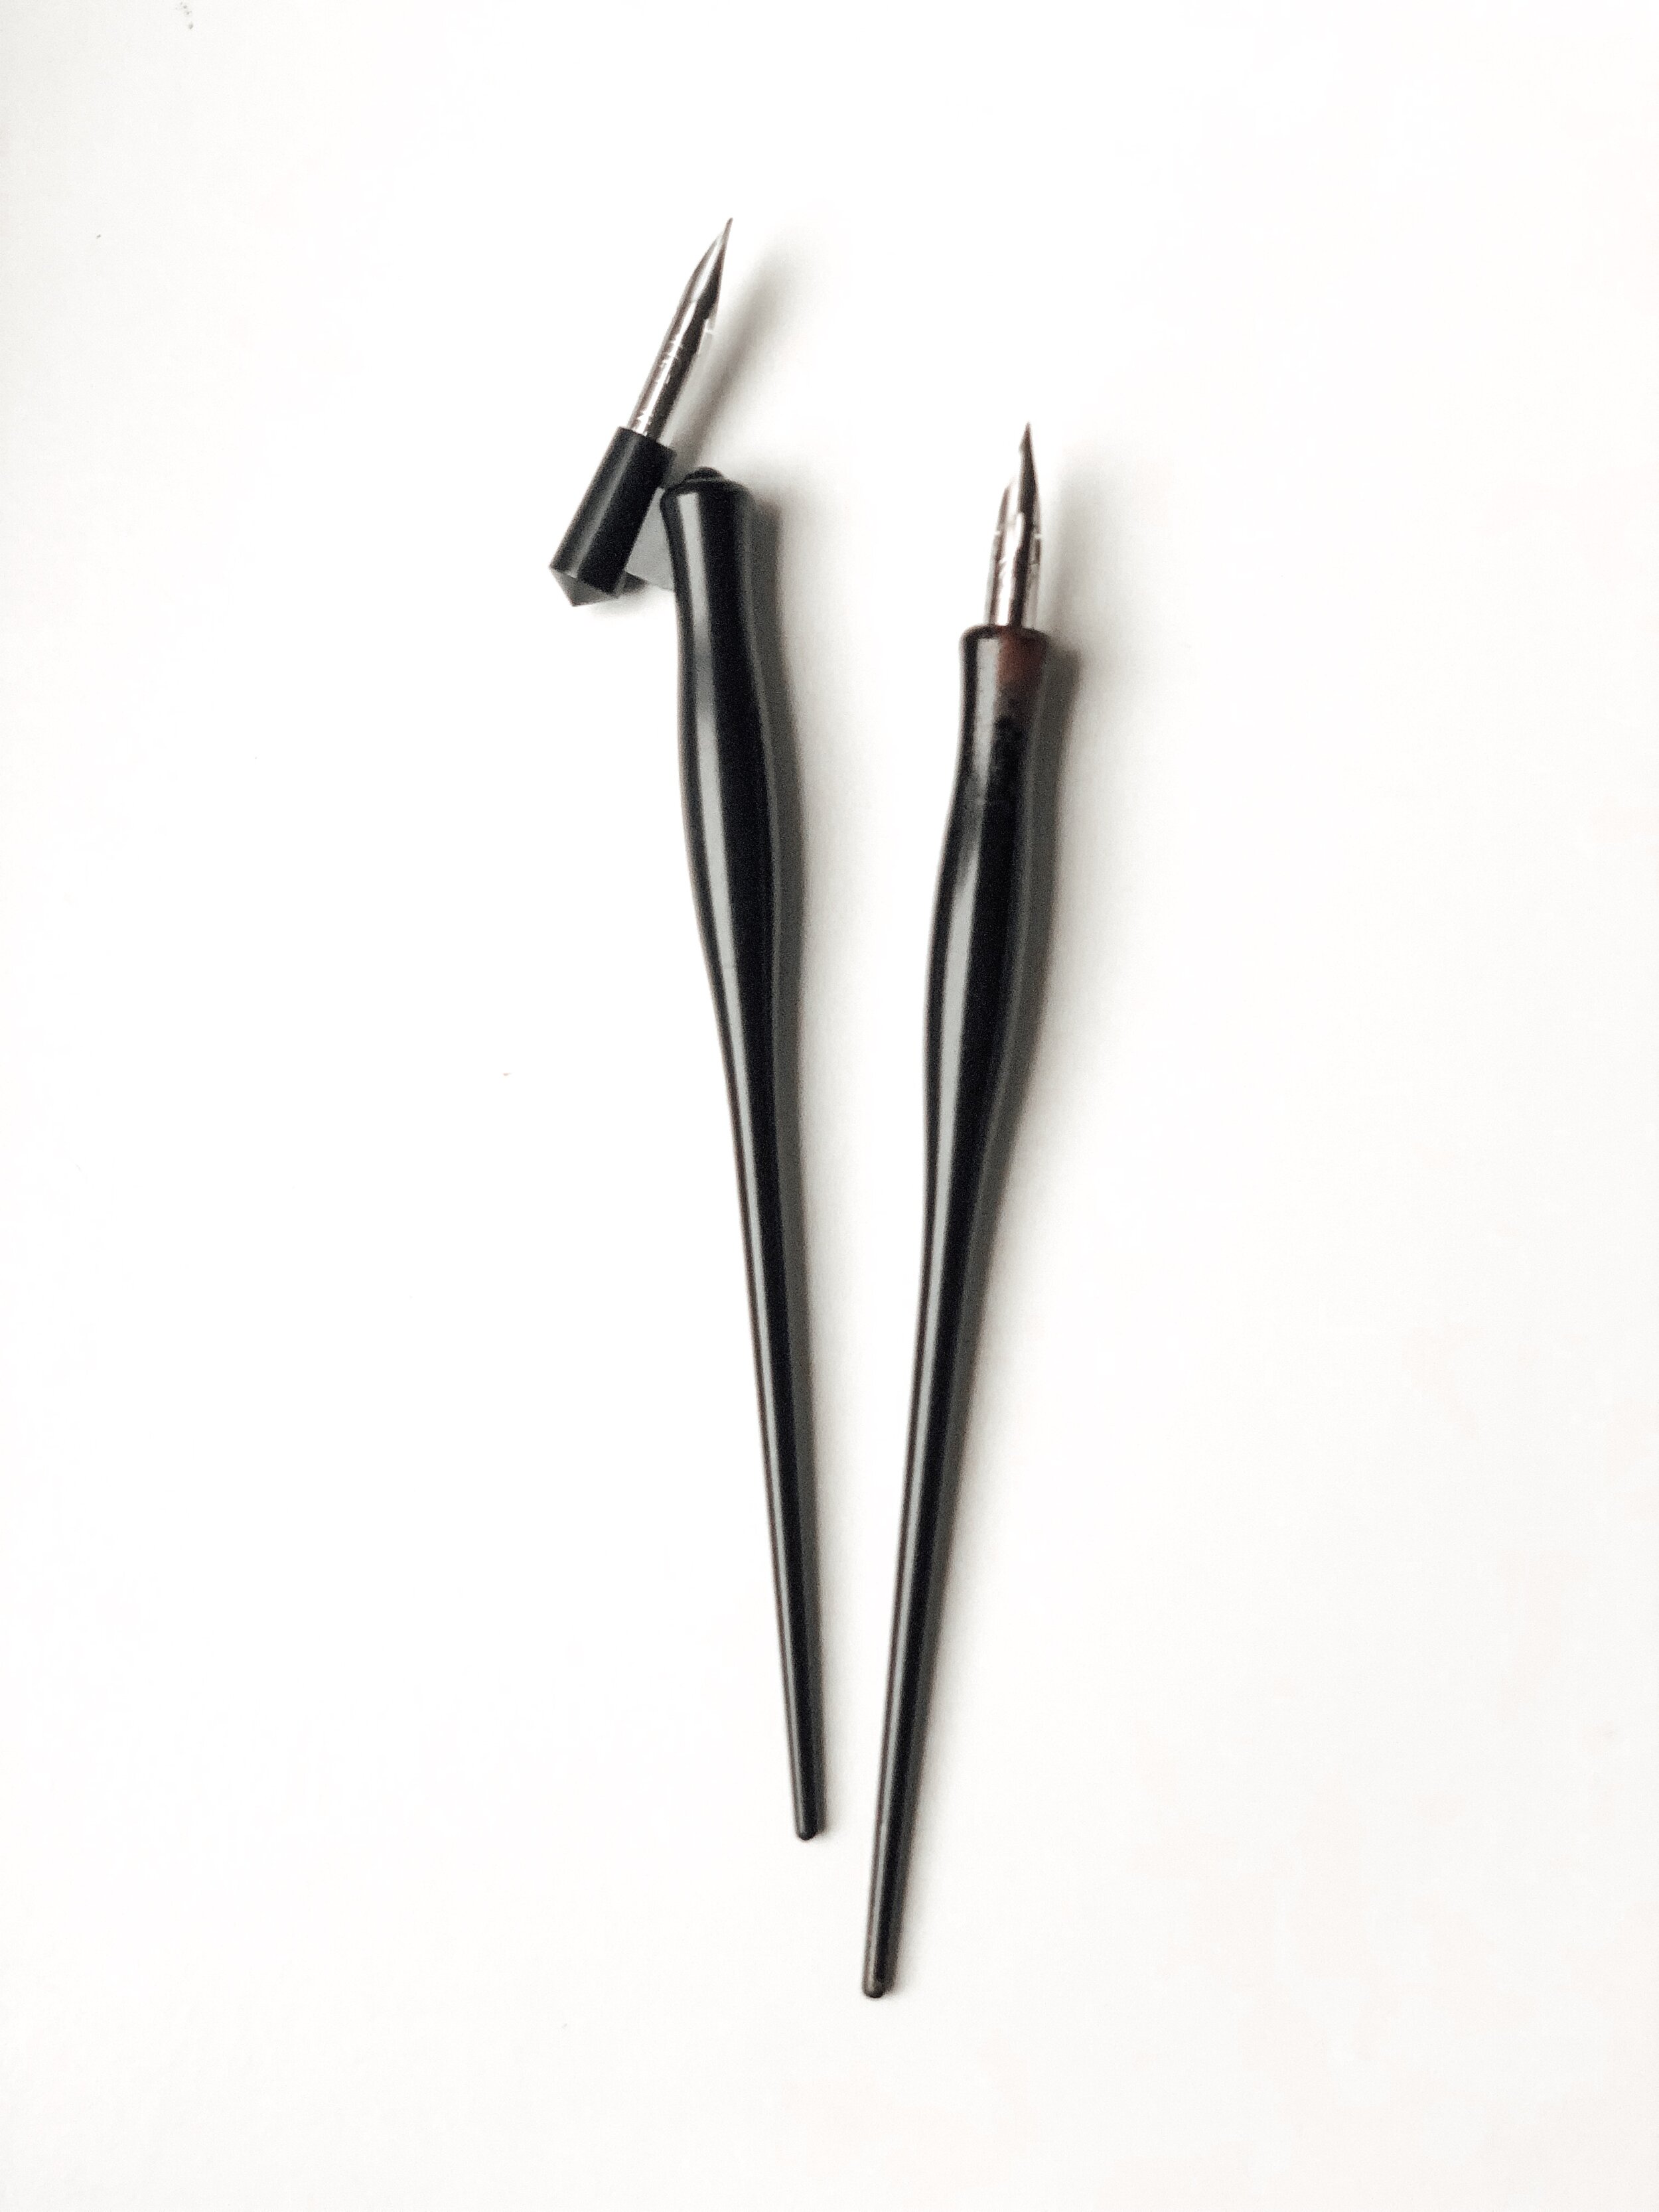
You can play with both pen holders to see what works better for you. Sometimes, when I want more angled and slanted script, I use the oblique pen. Most of the time I just use the regular/straight one.
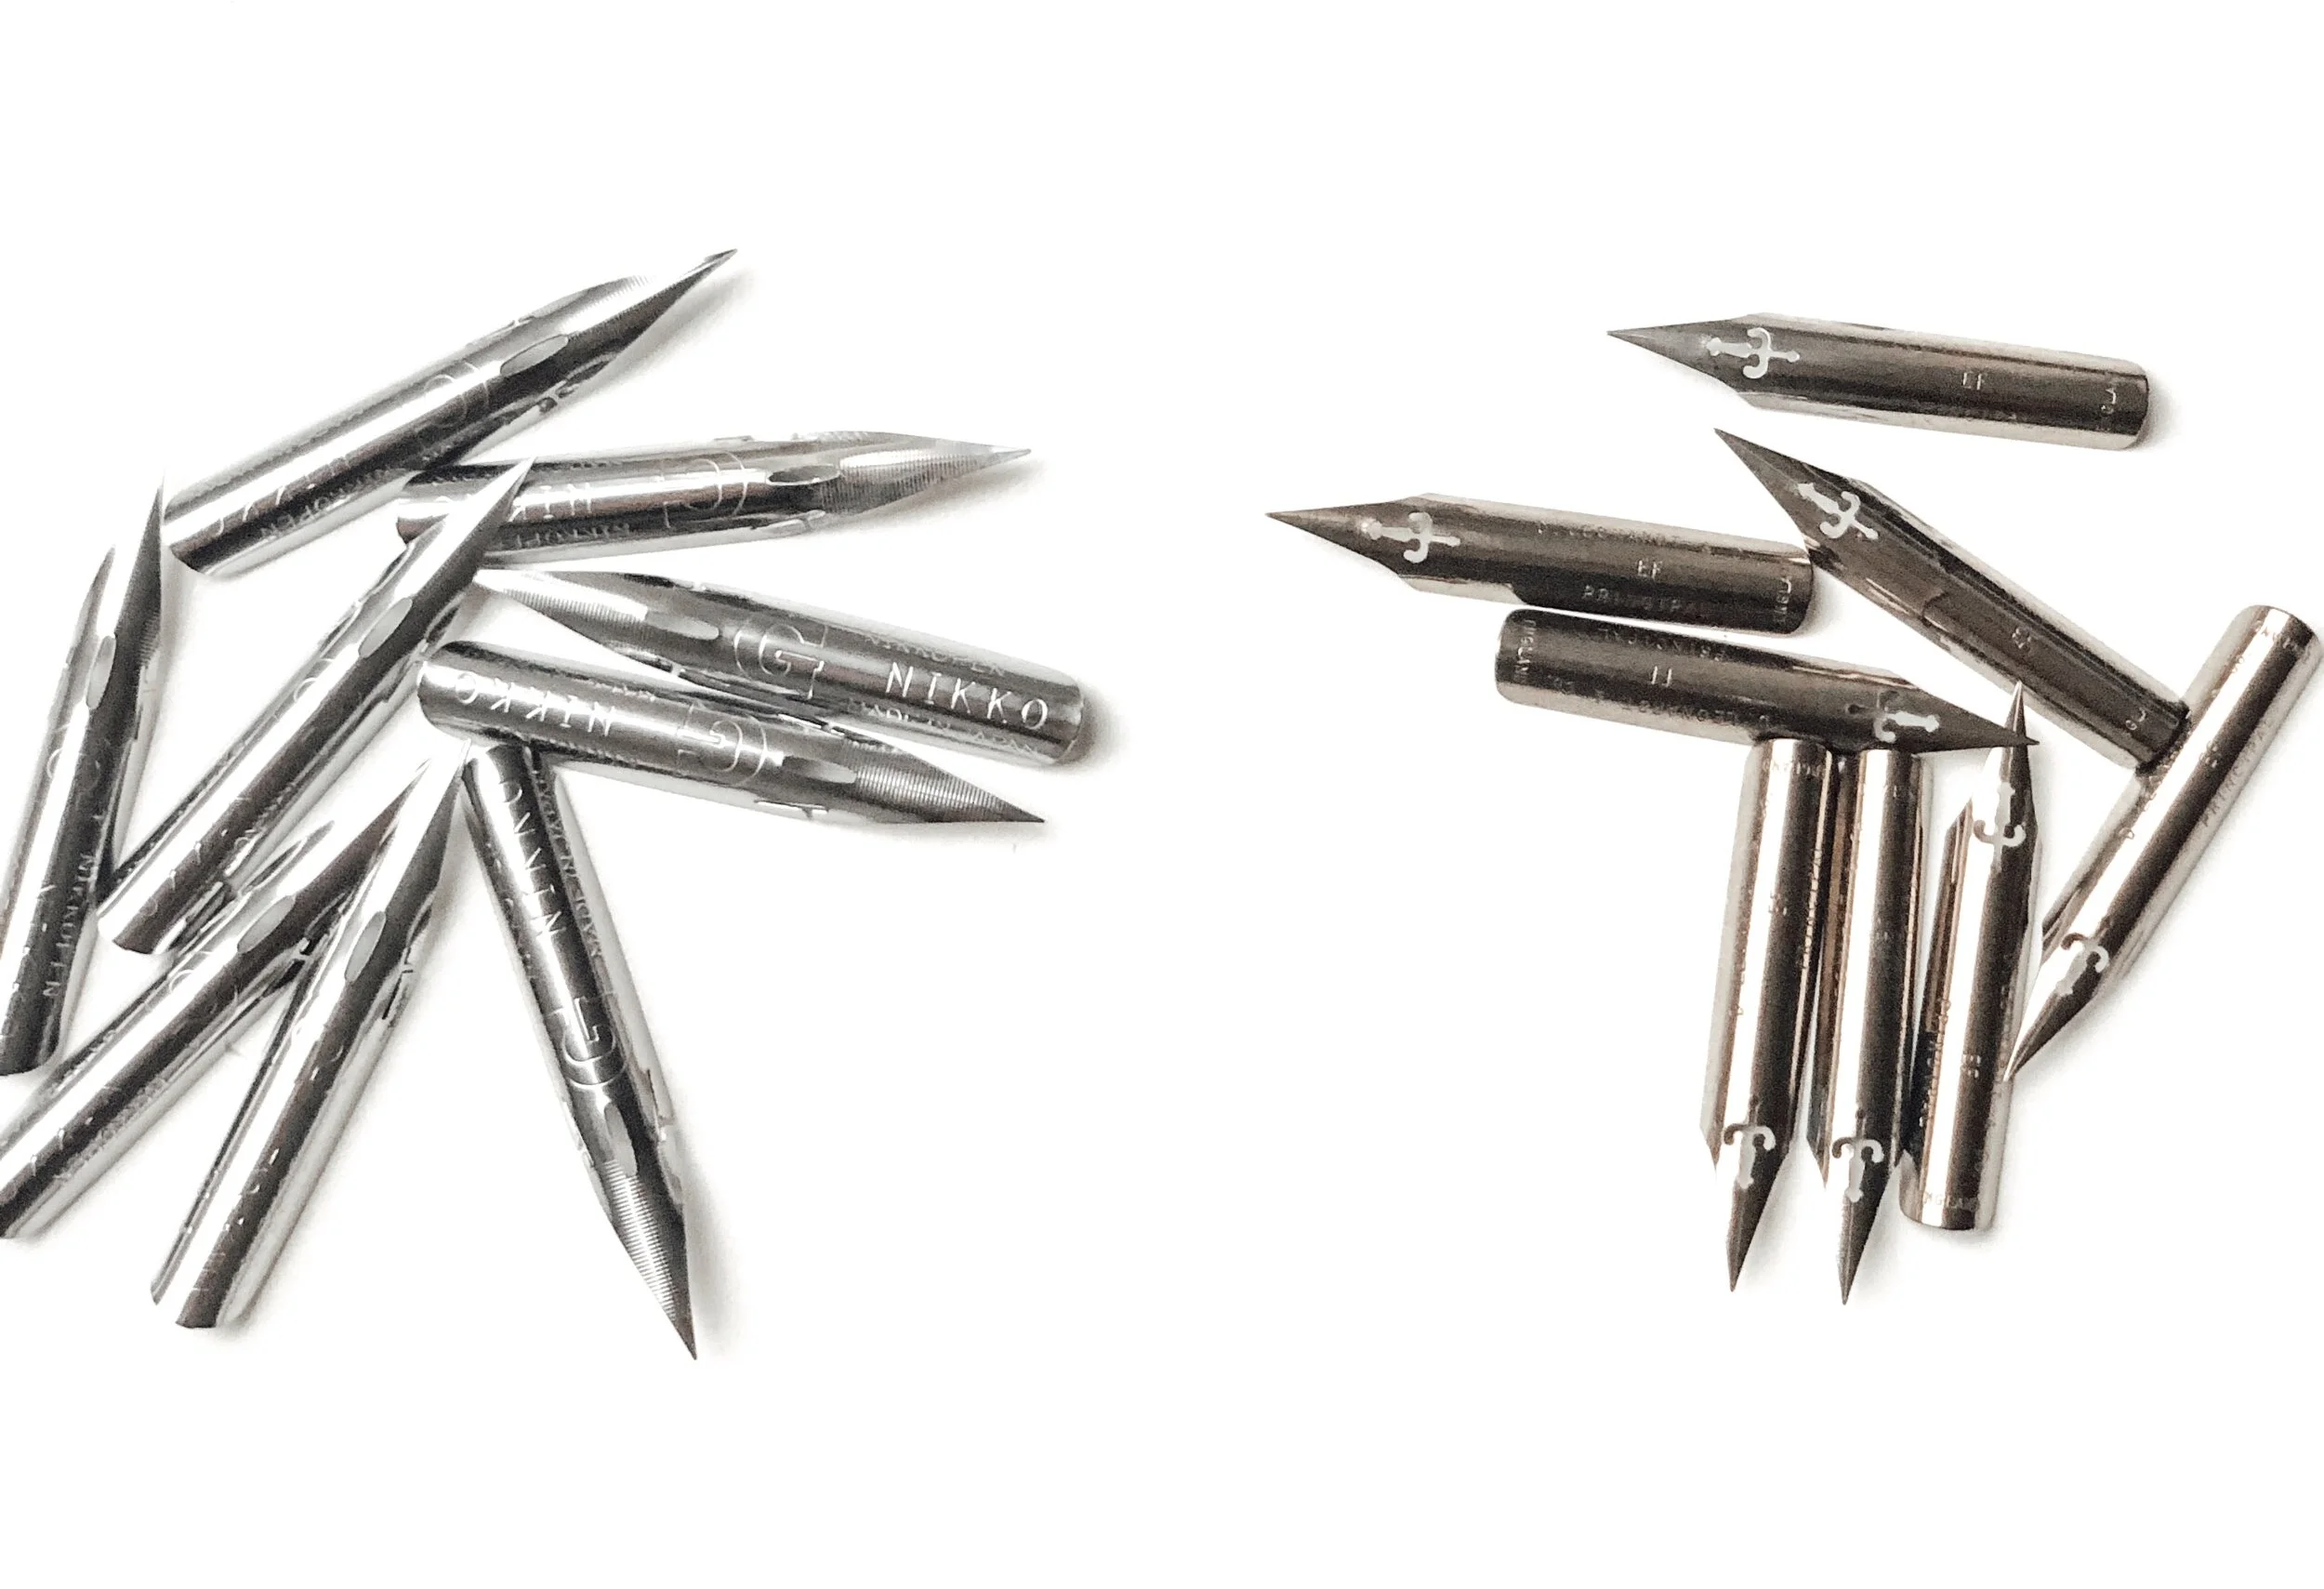
These are my go to nibs.
I recommend Nikko G, Leonardt Principal and Blue Pumpkin (not pictured) nibs to start, but there are so many out there. It’s worth it to try many different ones and find those that work best for you.
Before you start, clean the nib as it comes with a protective oil layer, therefore the ink won’t stick to it at first. You can fire the nibs to get rid of this oil layer super easily (see picture) or wash with warm water and dry them well a couple of times.


In my opinion, Sumi Ink is the best ink to practice with. Pour it into a small container. I use these tiny dinky dip and I find them perfect. If I pour the ink into a larger container things can get messy. Also helps so much to use wooden holders. They hold this tiny little bottle tight, so less chance of spilling ink on your work.
Paper
Print the Strokes Template on a regular paper.
Please don’t write on regular printing paper, as that can be very disappointing since the ink bleeds through the paper and it doesn’t look good. You can use Layout Bond Paper, which is a very smooth and transparent paper to put on top of your Strokes Template.
Once you practice like that for a while and feel more confident, you can print the Guide Sheets on a high quality paper and practice directly on it.

You may also use a light box to see through the Strokes Template.
STROKES
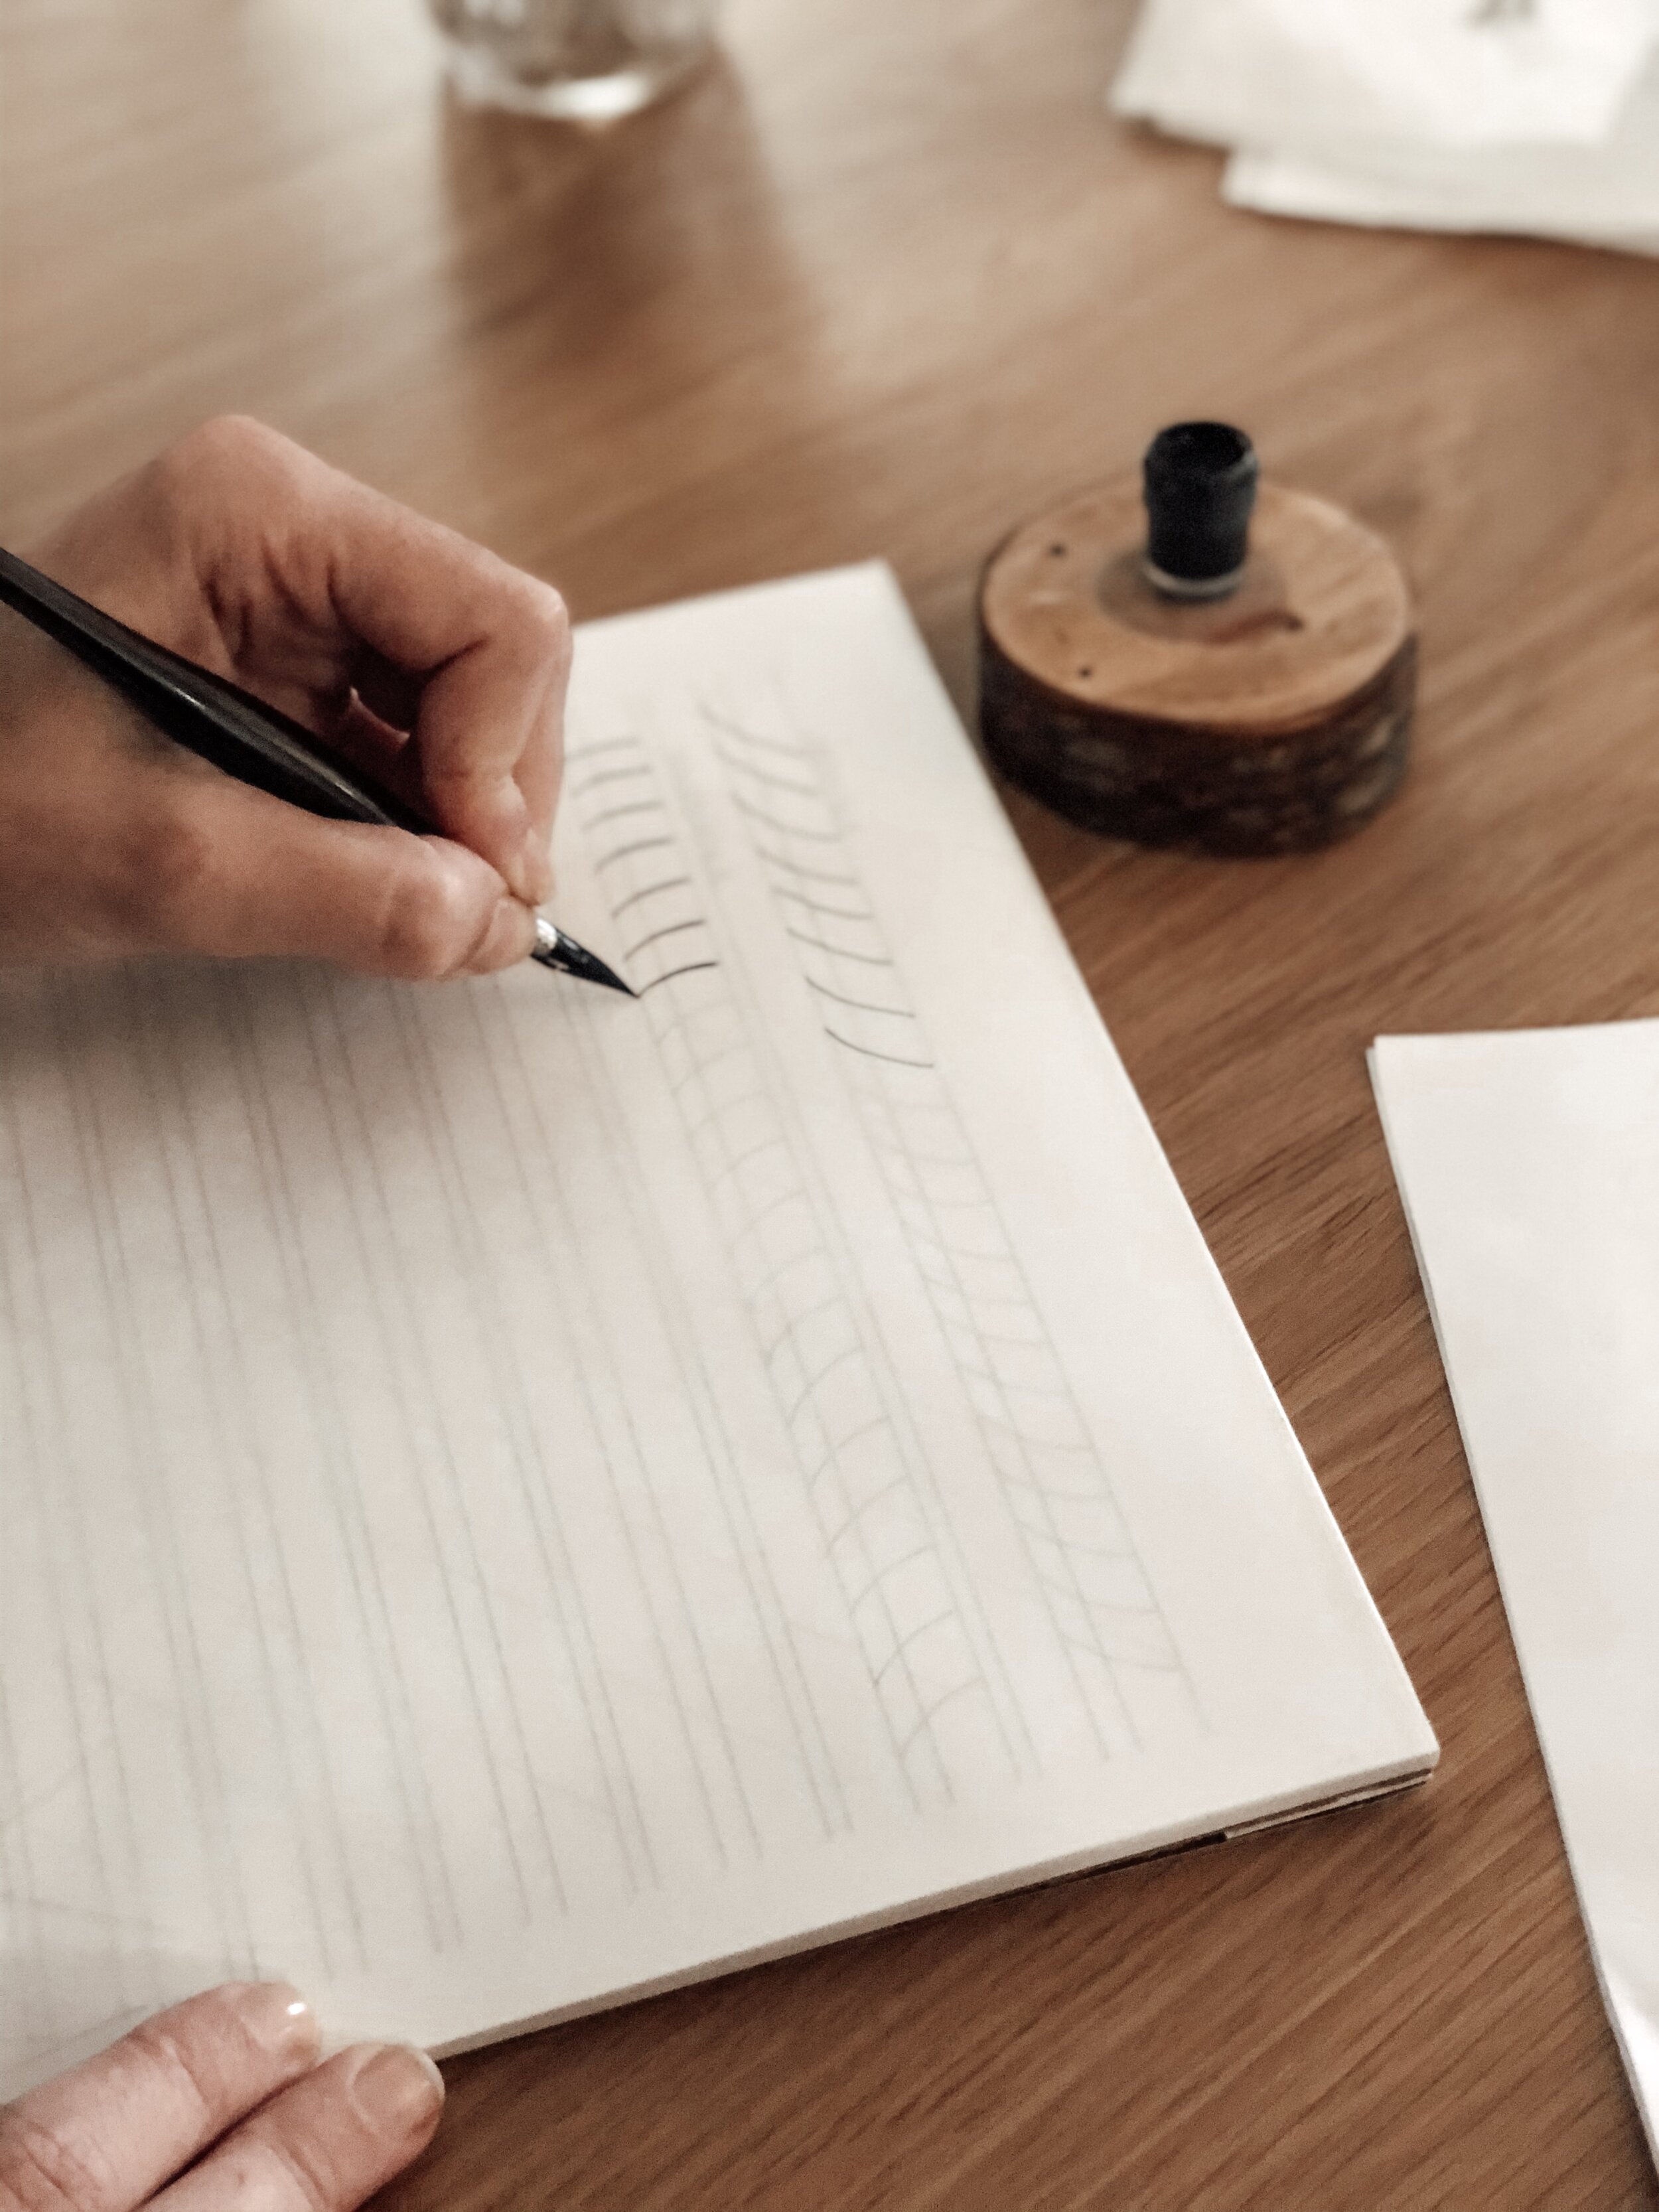
Calligraphy consists basically of thick strokes (down strokes) and thin strokes (upstrokes).
UPSTROKE
DOWNSTROKE
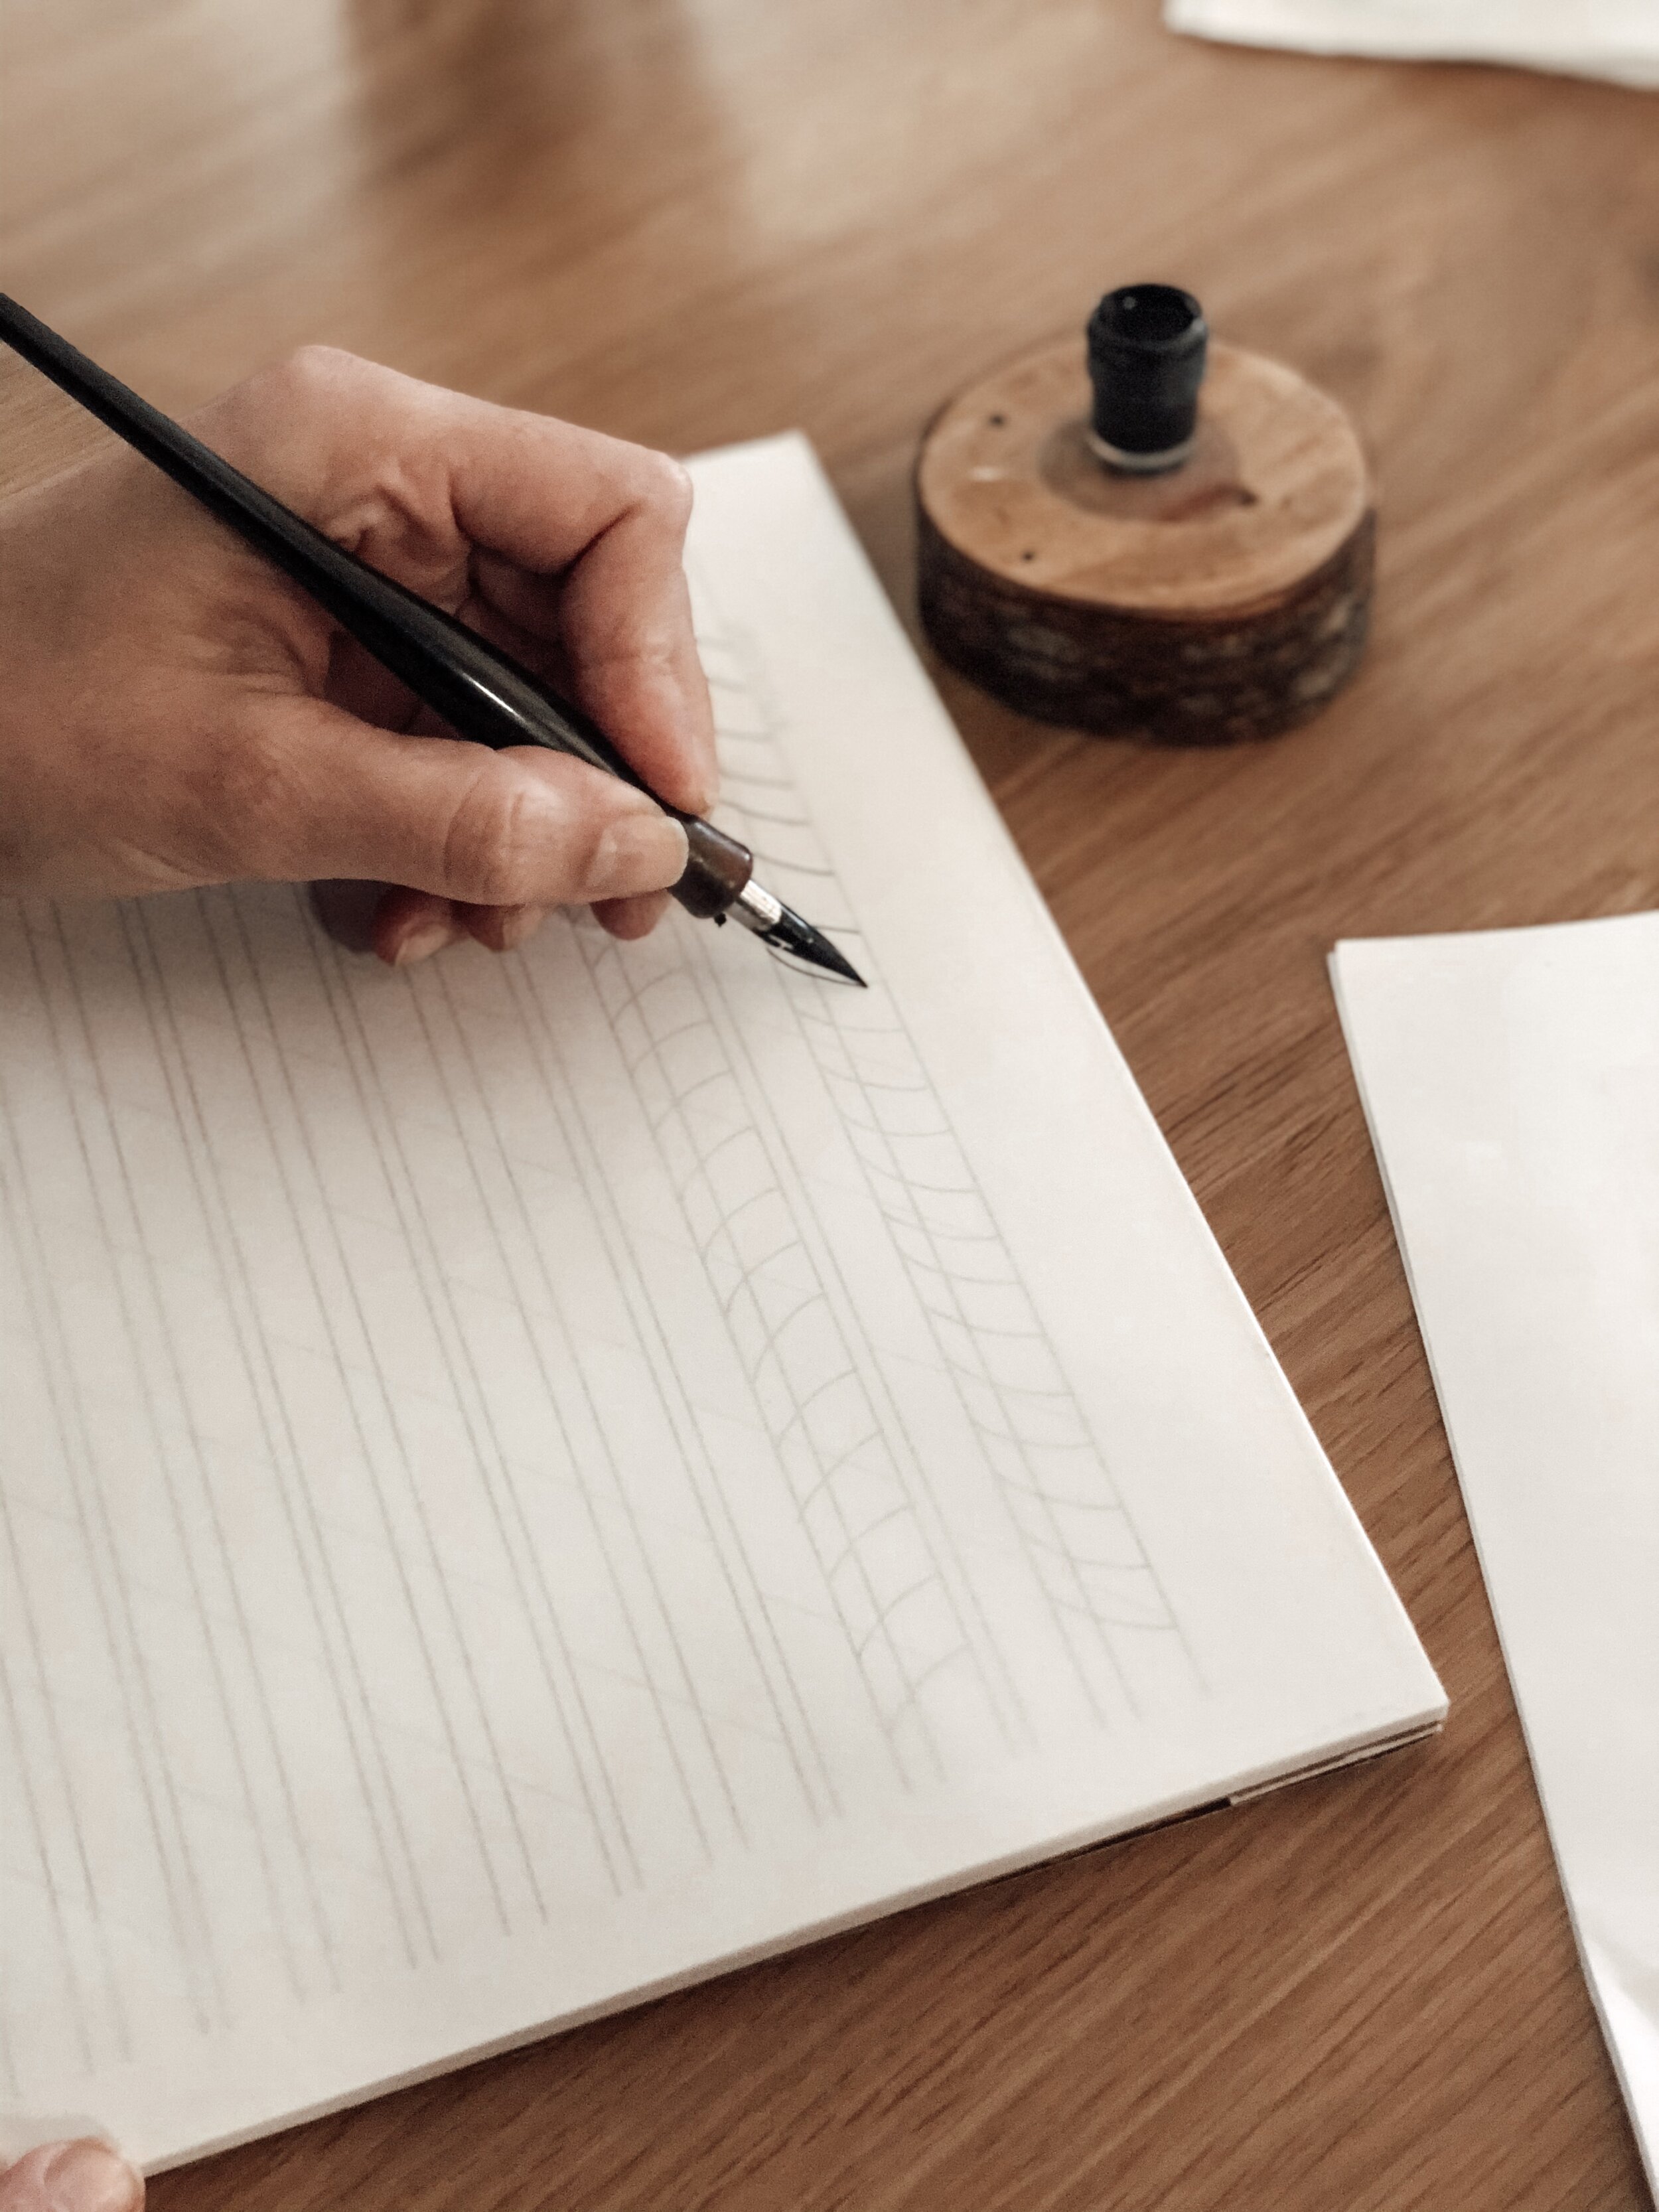
When holding the pen, make sure you hold the pen and nib at a 45 angle.

dip the nib into ink

wash the nib in water frequently so the ink will flow better and continuously.

remove the excess ink and dry with a paper towel and dip into water again if needed.

For thick strokes, press the nib down on paper and the tines will open so the ink will flow.
Here are some samples for your practice on the up & down / thin & thick strokes.
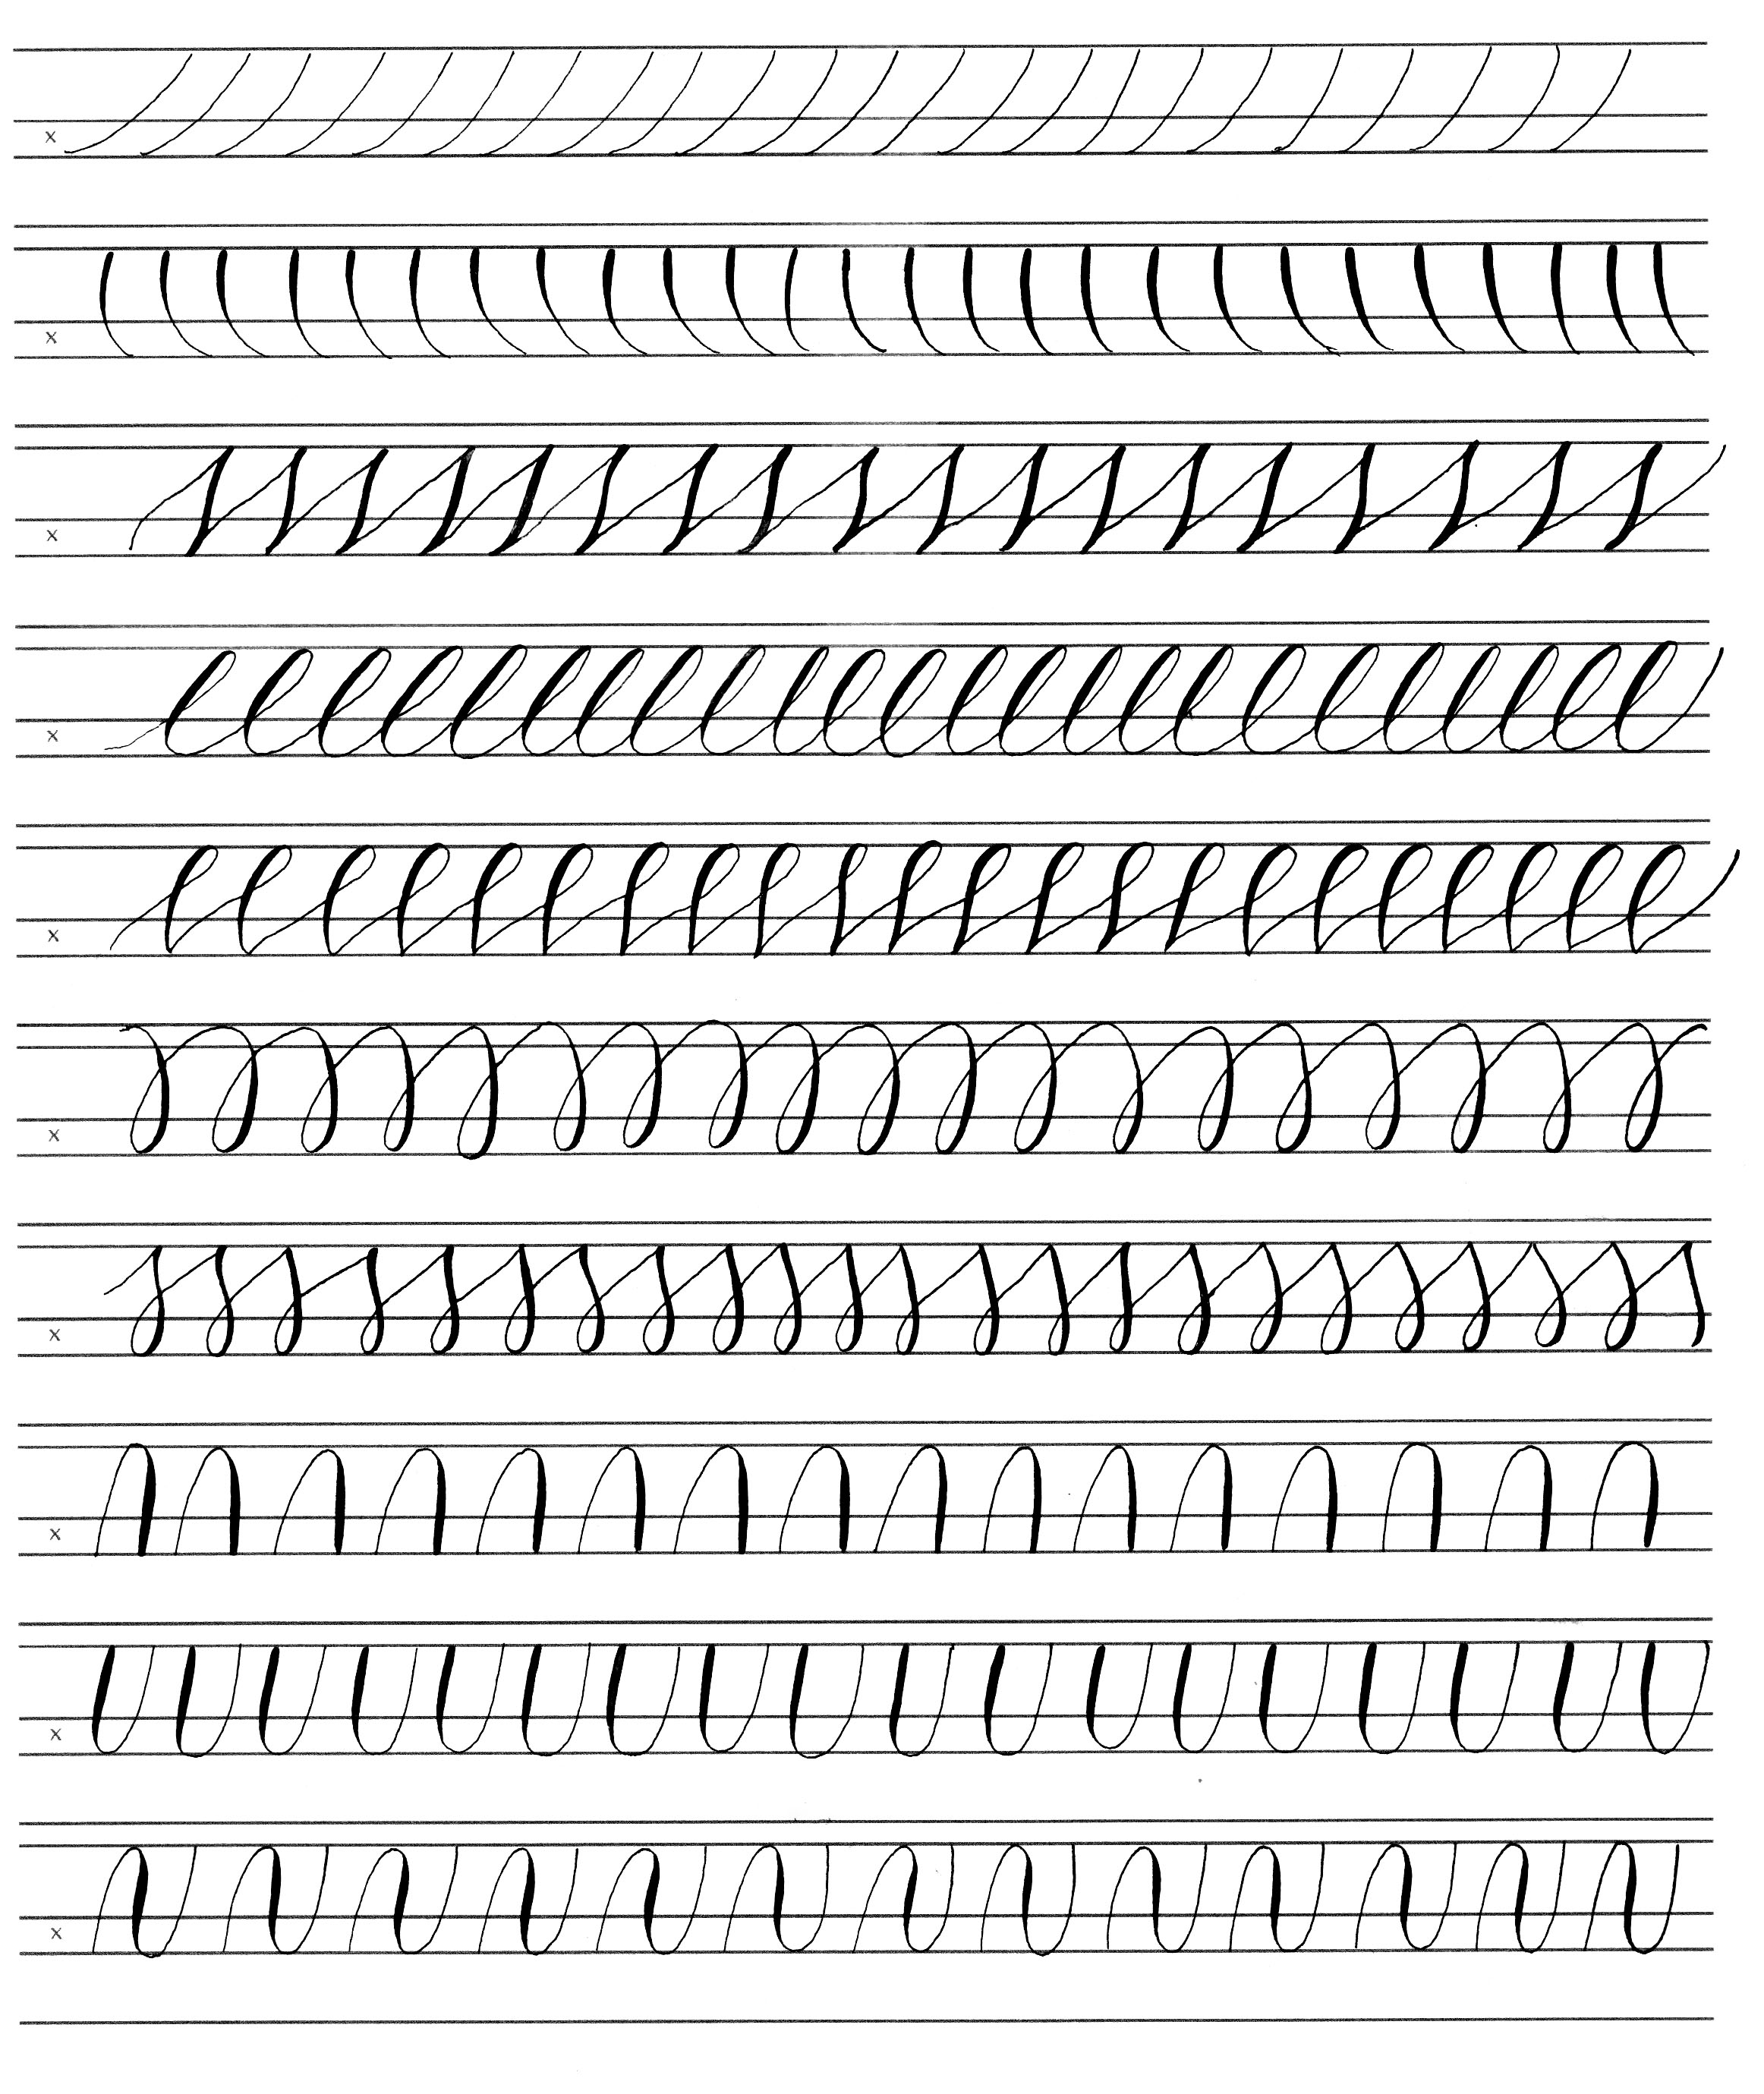
At first you can place the layout bond paper on top of your calligraphy guide to trace your strokes (picture), until you feel confident enough to do it on your own.

Practice these strokes and once you mastered them, we can go to the next step which is the alphabet. Stay tuned.